CRT Swap

The CRT in my arcade machine has some serius burn in so I decided I would atempt swapping the CRT witch involves removing the purity rings and youke off of both CRT’s and putting the Arcade youke on the new CRT and putting the purity rings from the new CRT back on the new CRT.   I will update this with more photos of the process.

Town Home Network + Phone

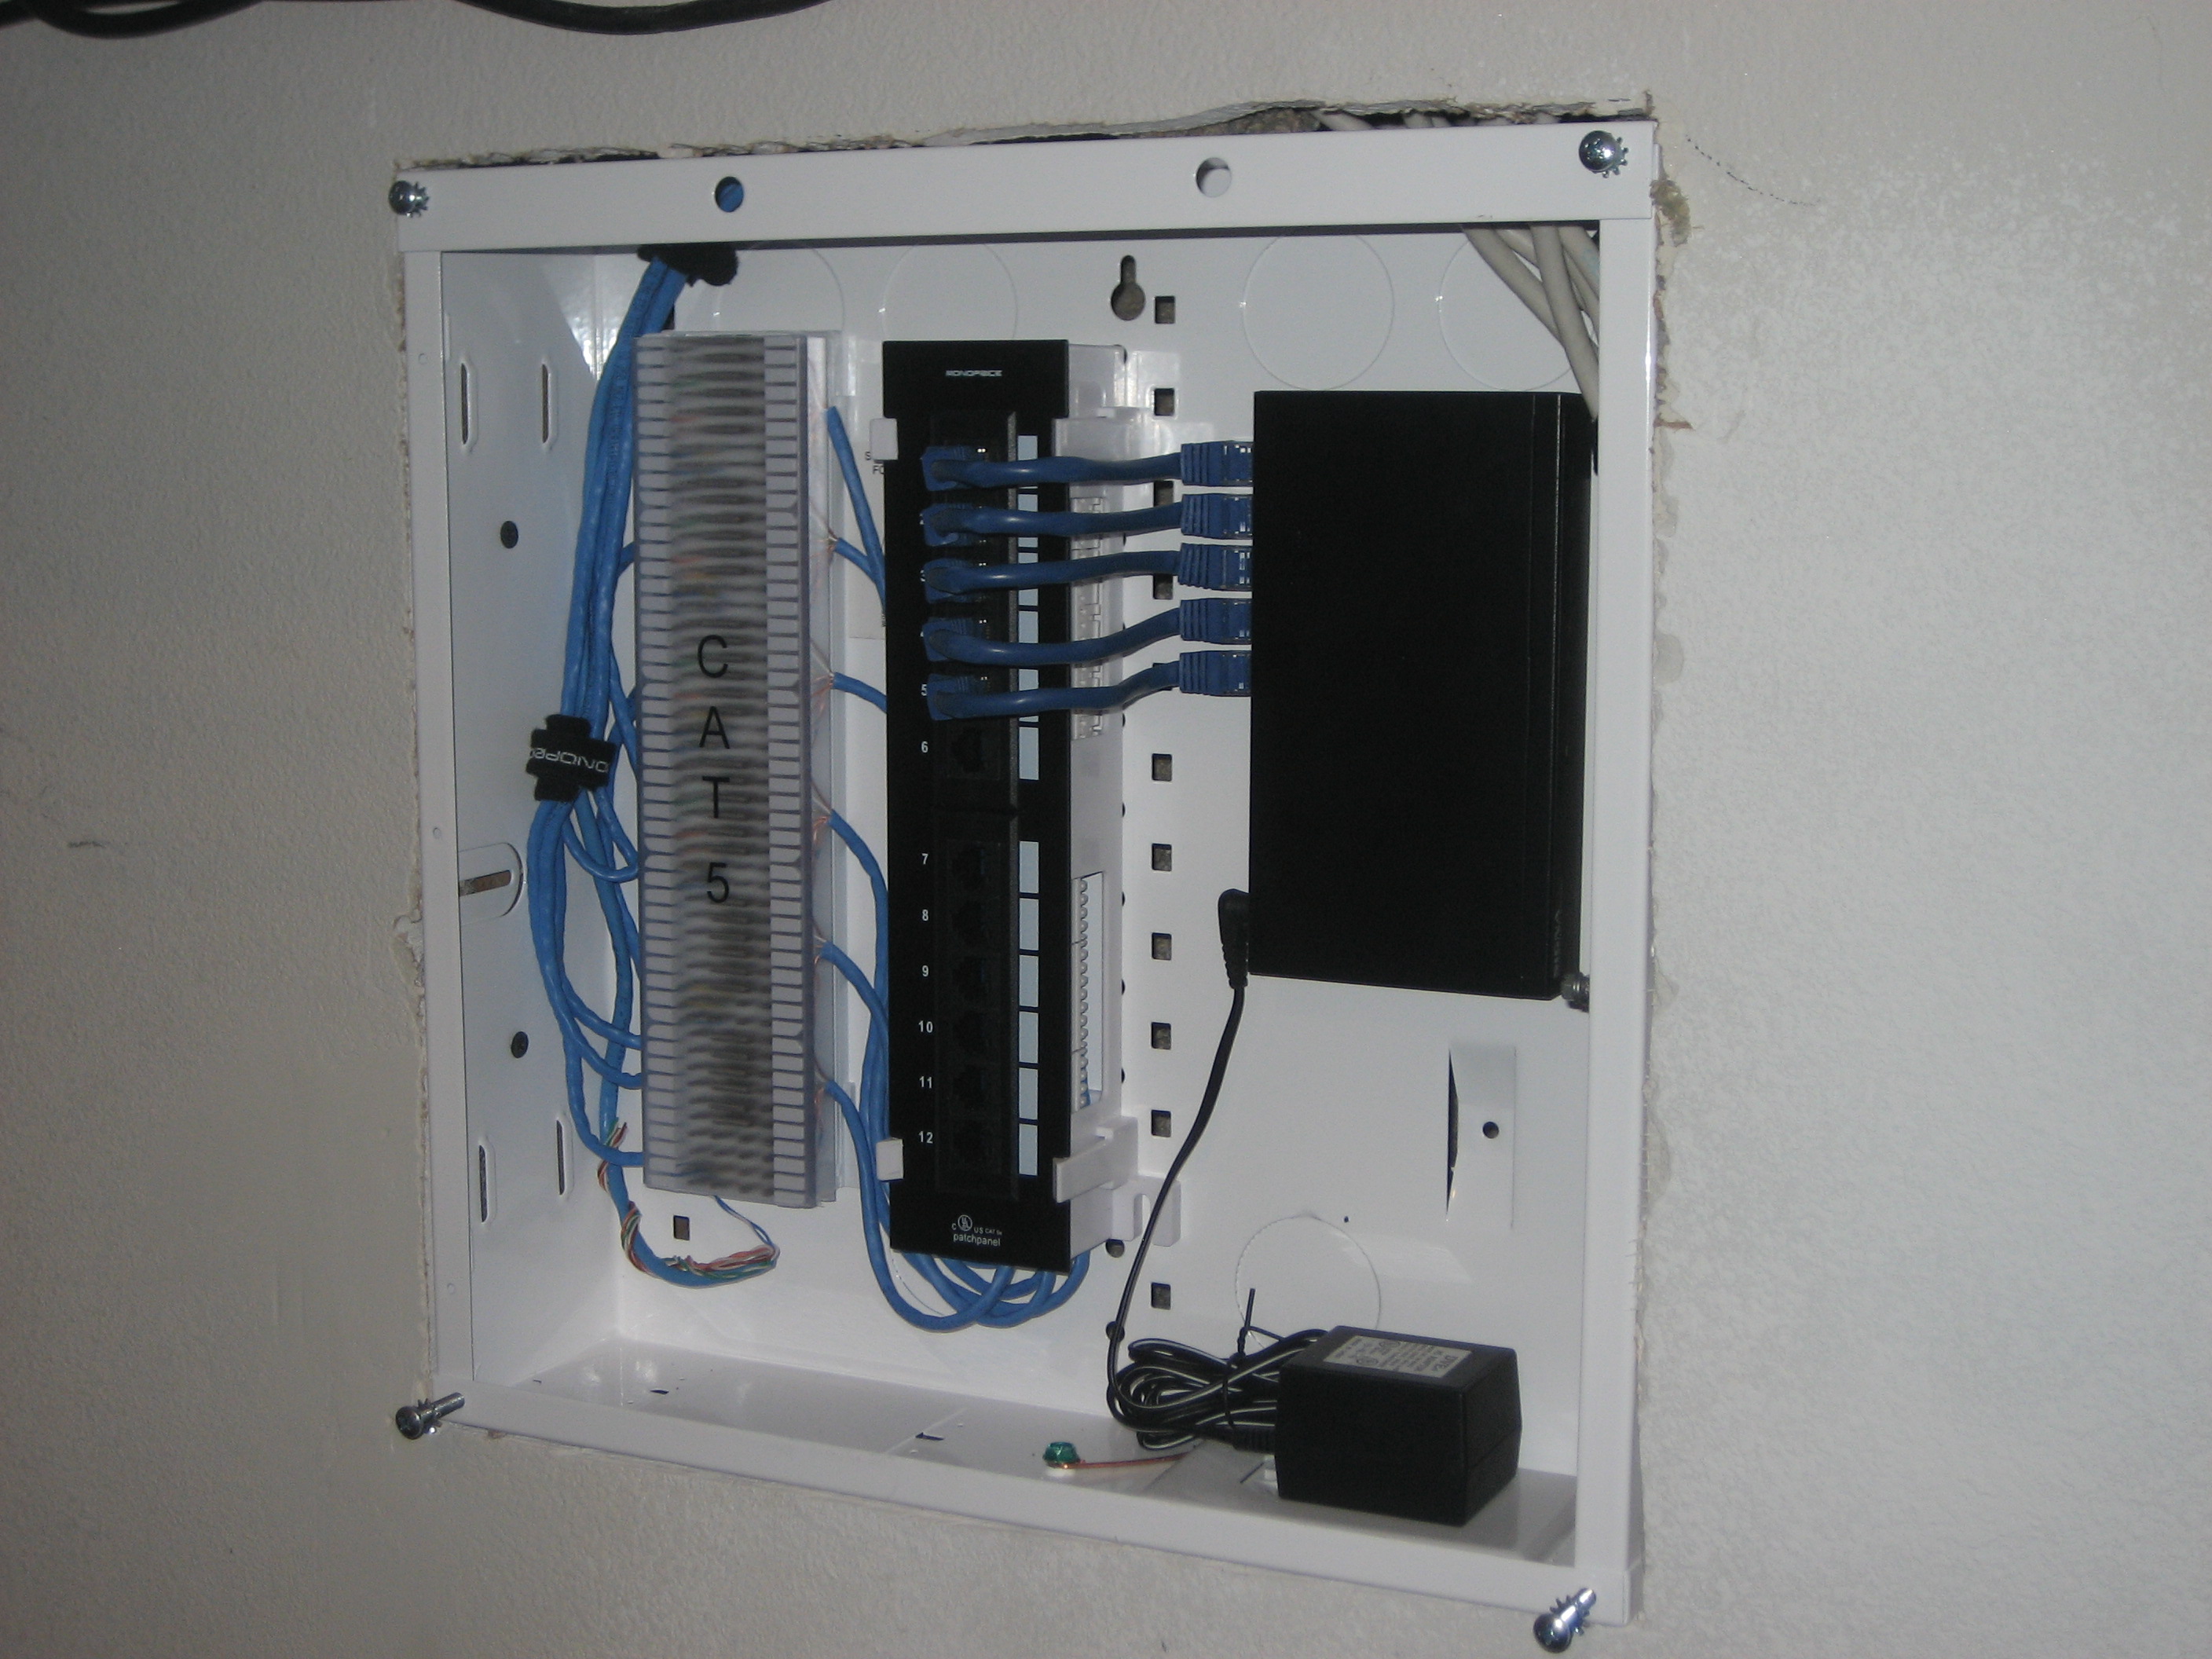
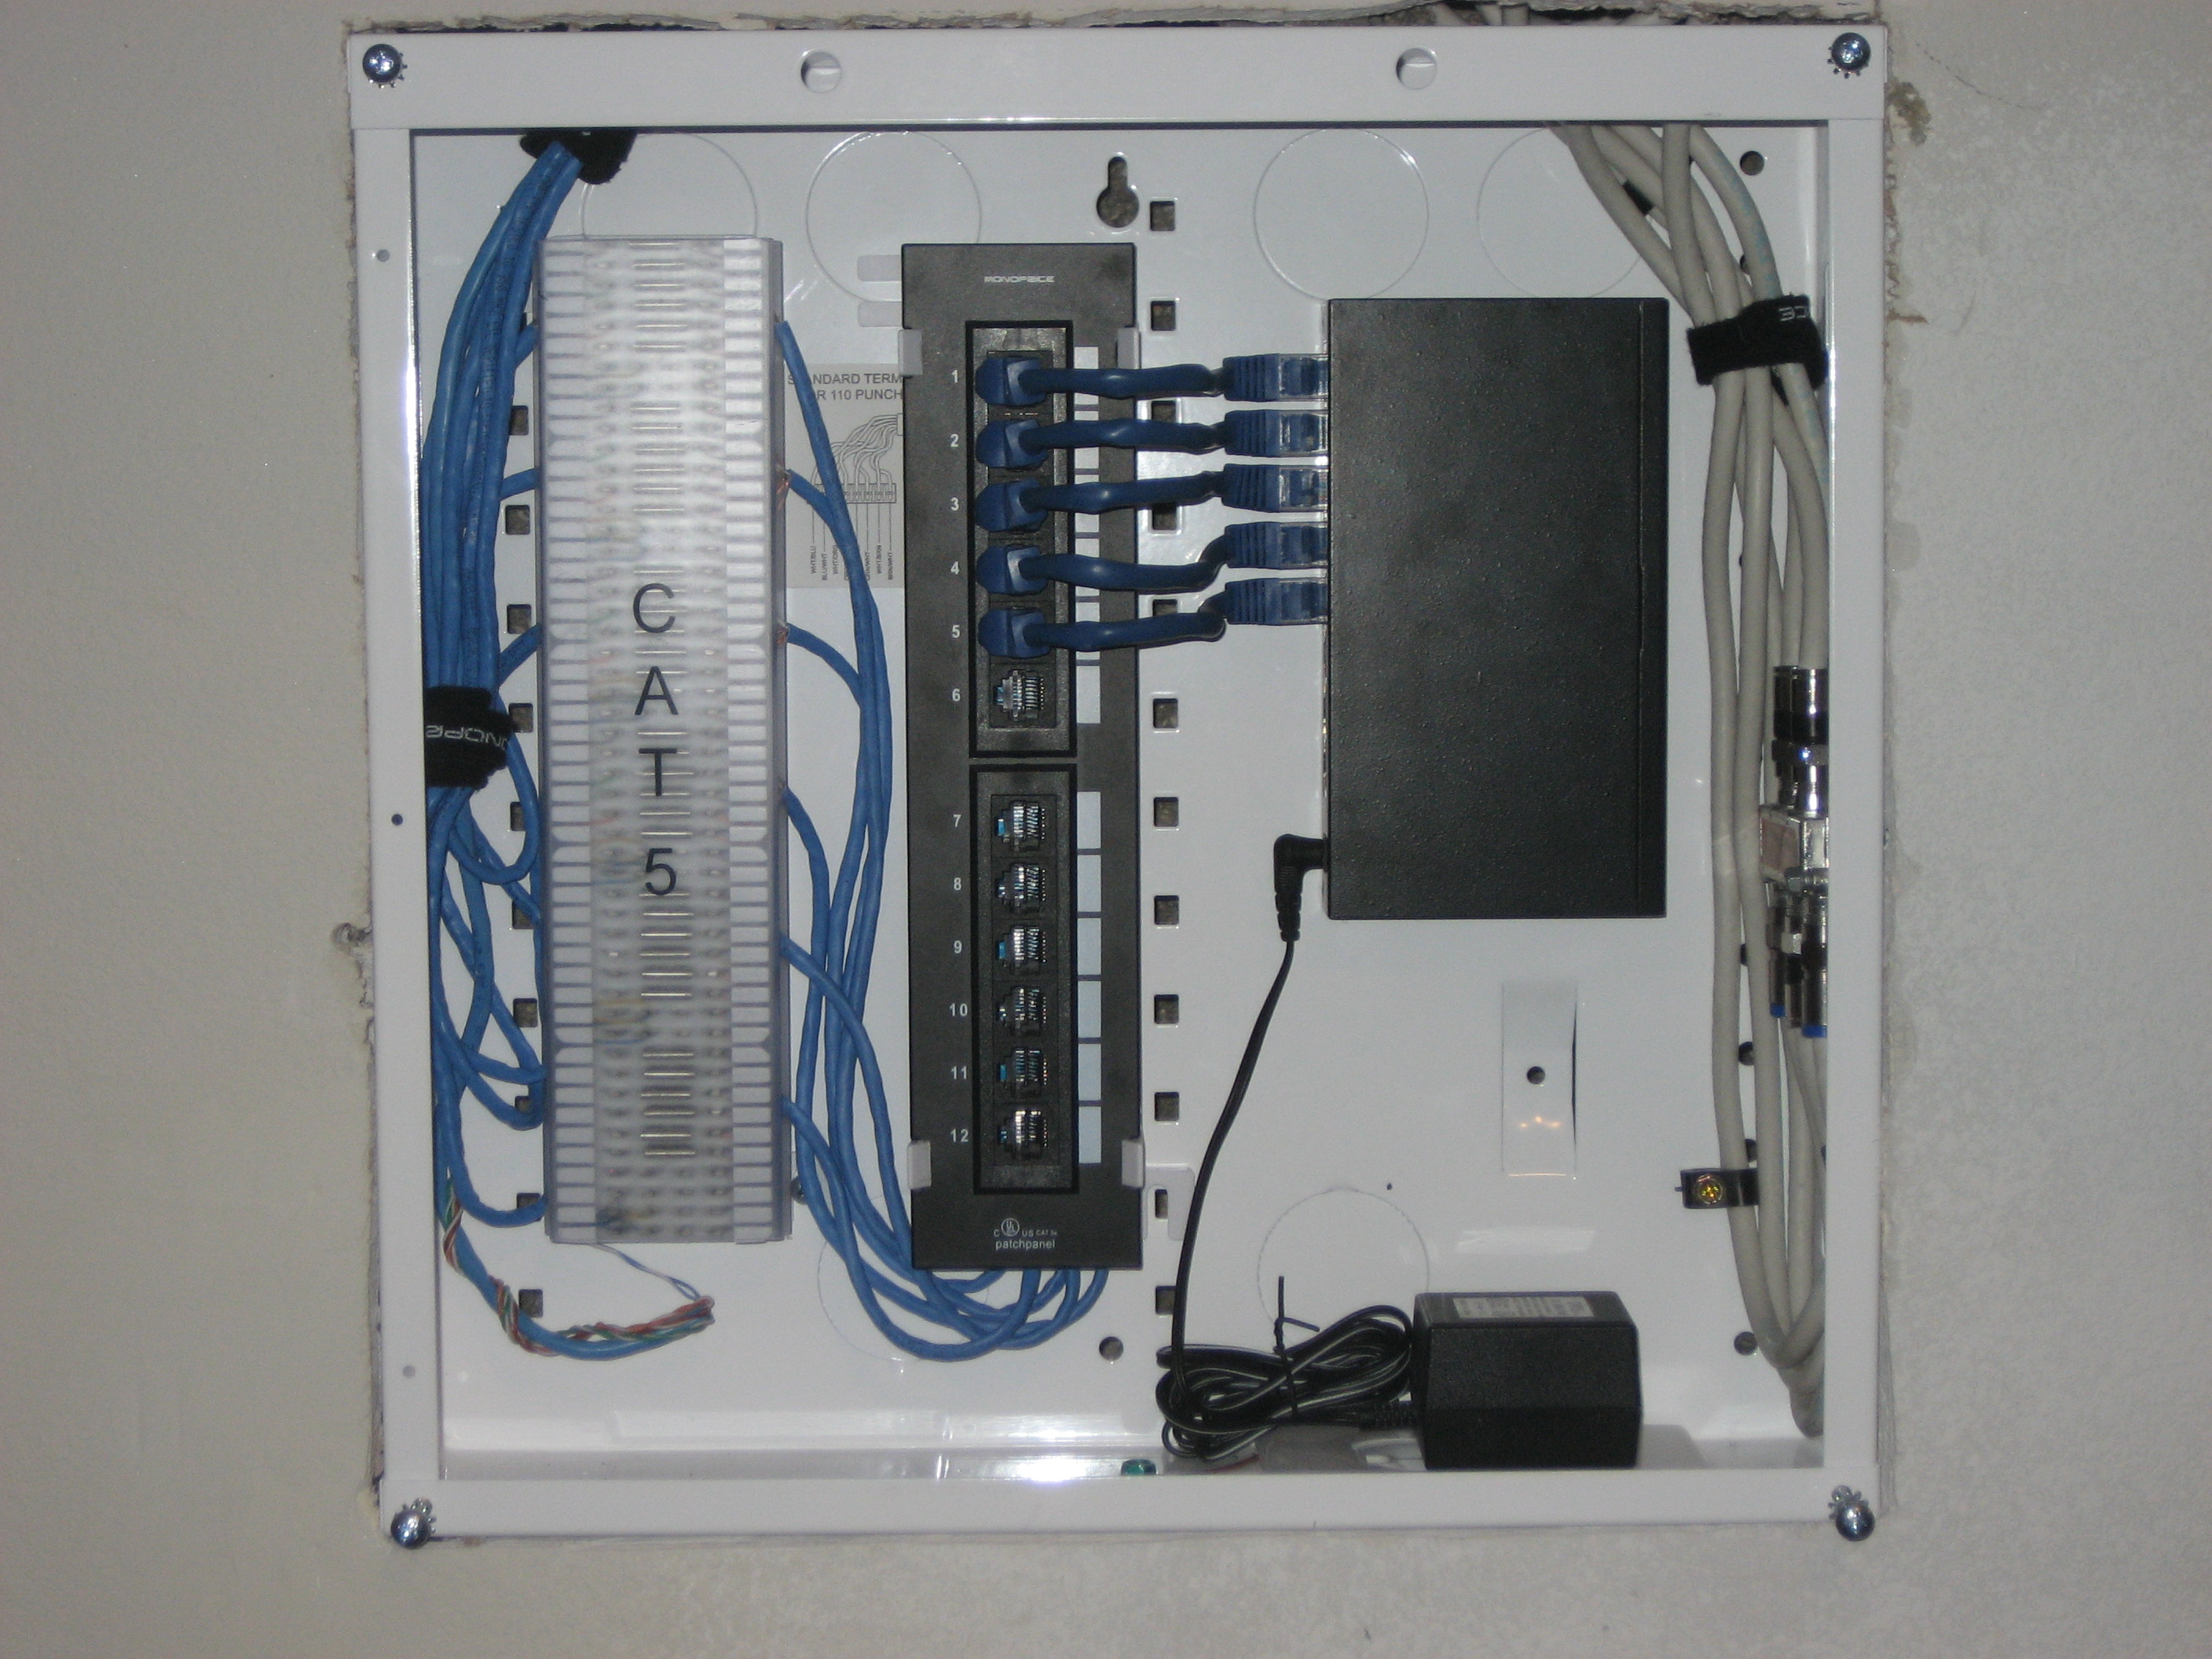
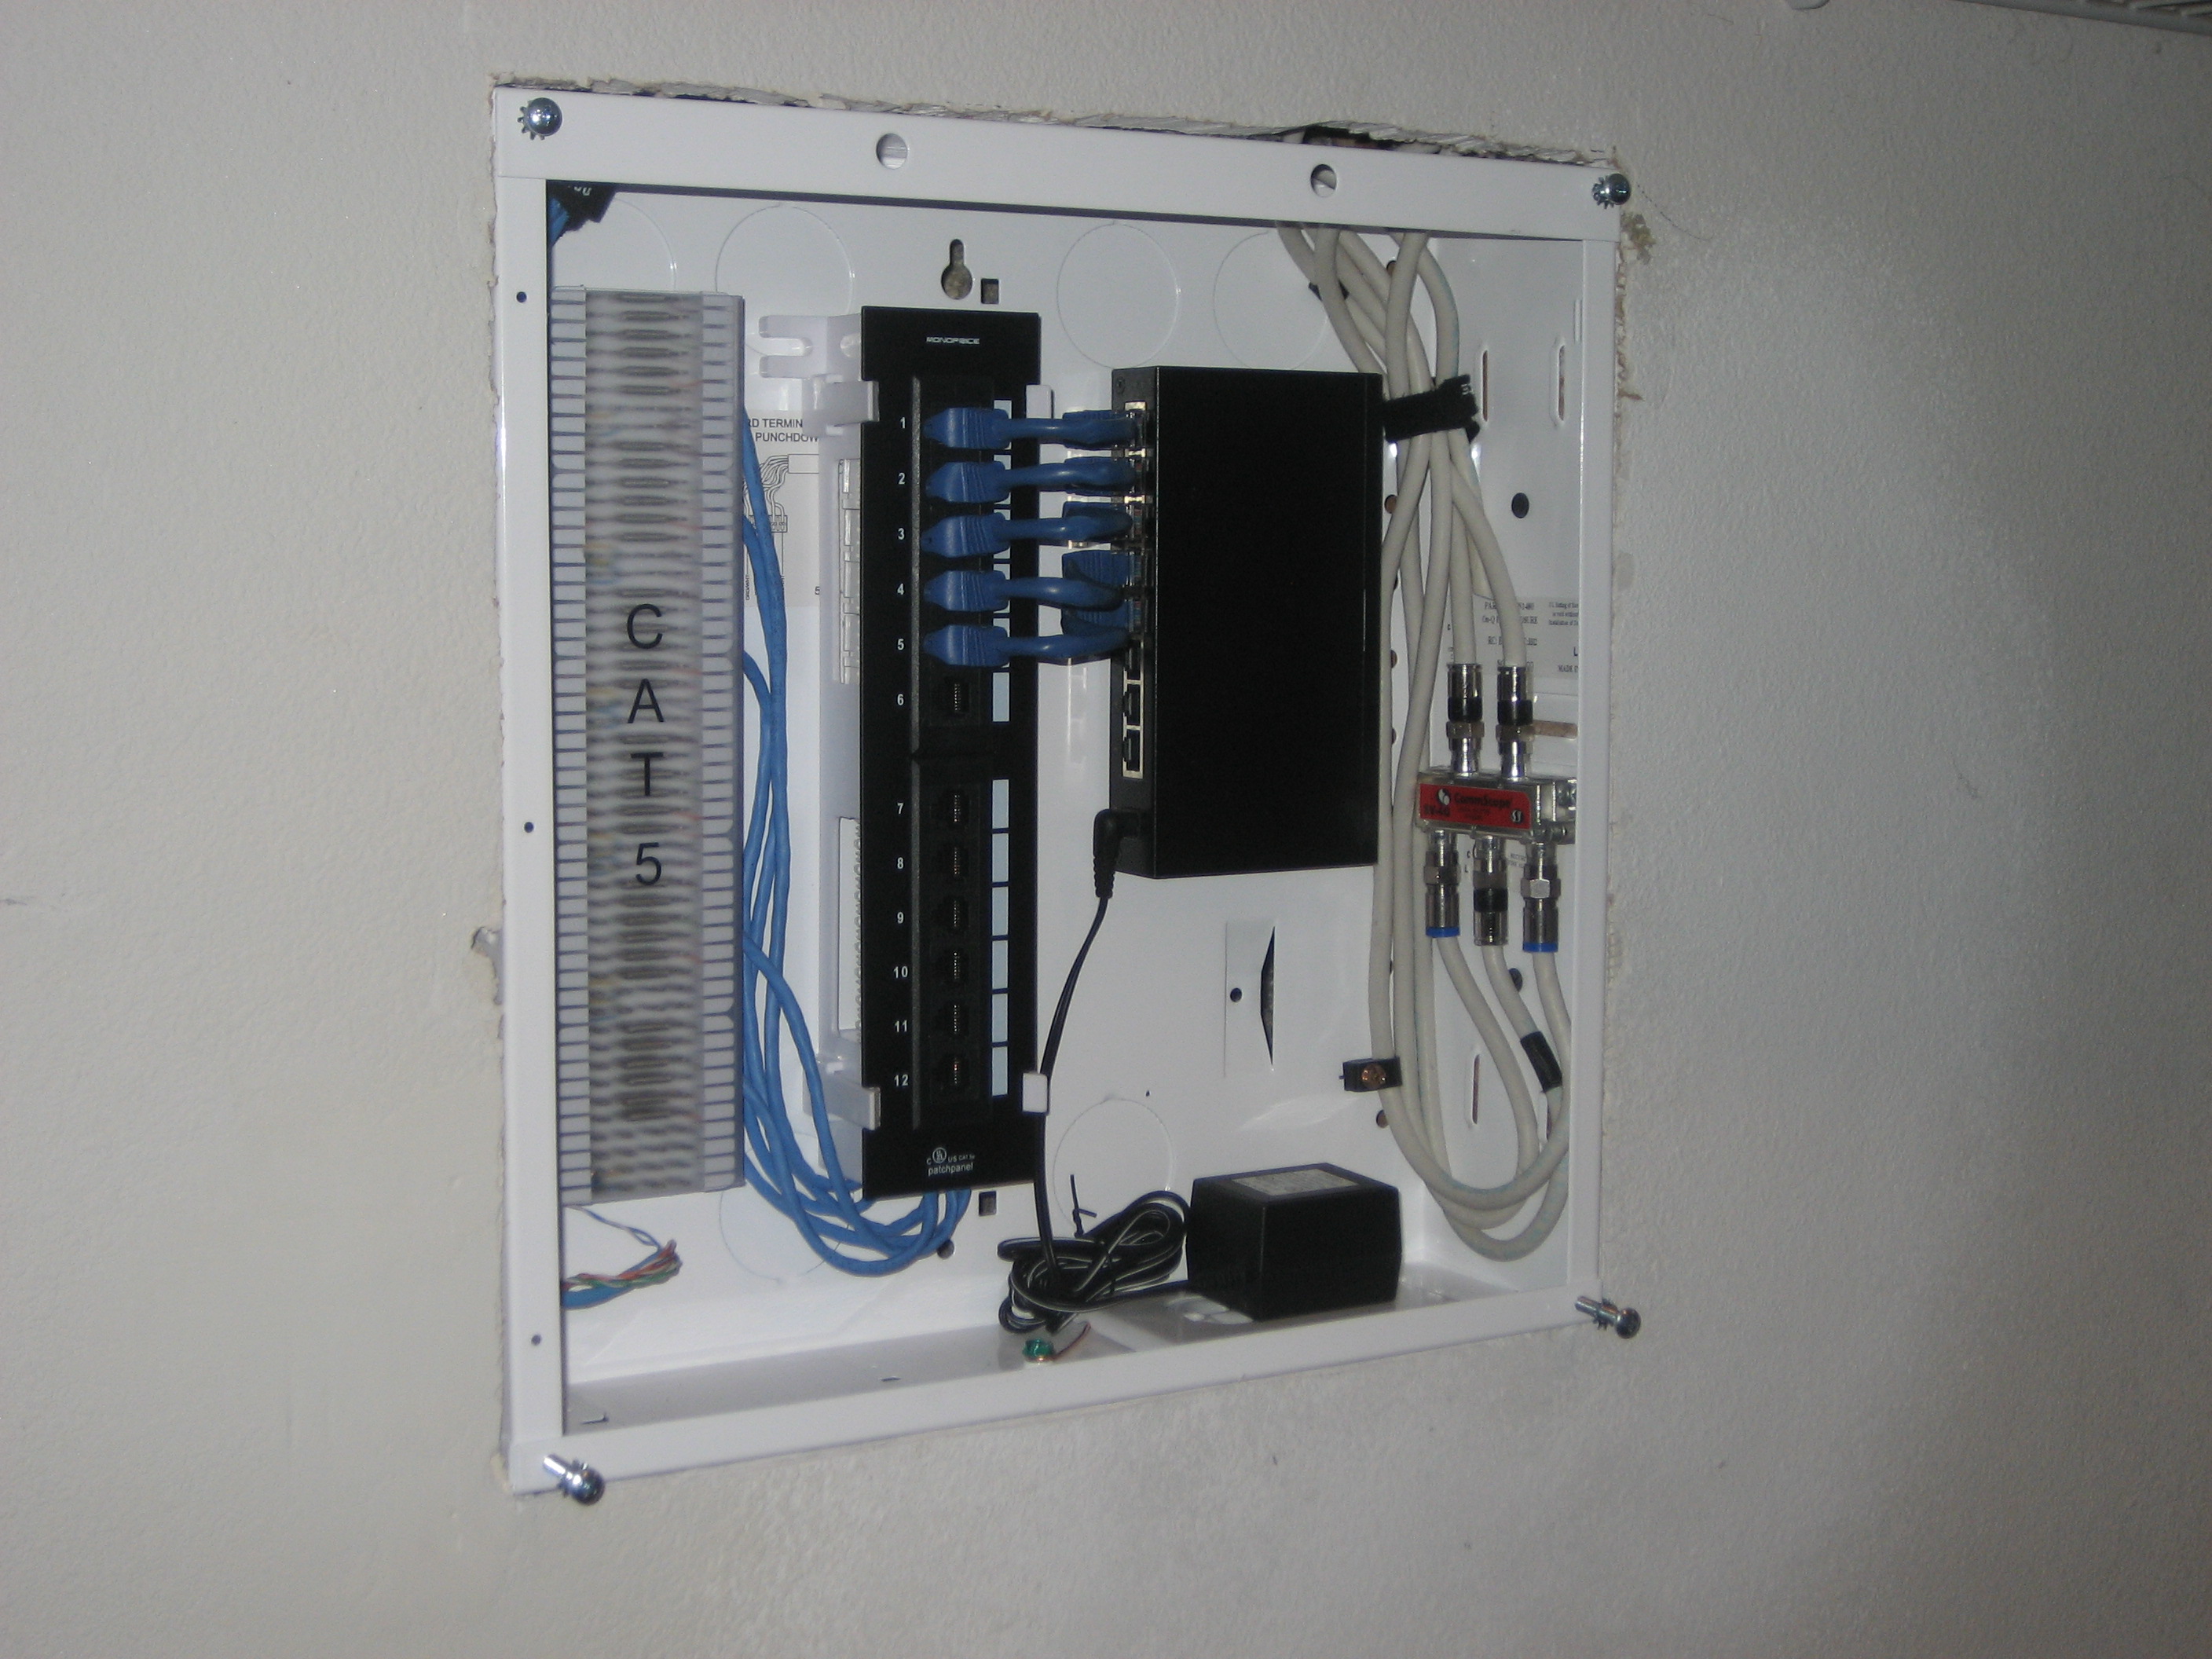
The town home I am living in had ran cat 5 to every room for the phone so I decided to break it out into phone + 100 Base T.  The organization of the cabling was less than acceptable by my standards.  When this place was built in 2006 they felt that putting a duplex cover over a hole in the wall was an acceptable enclosure and simply wire nutted the two wires for the phone lines together and shoved it in the wall.  So I decided to replace that hole in the wall with a 14″ x 14″ Legrand IQ enclosure.  In the enclosure I put a 66 Block, 12 Port Patch panel, 10/100 network switch, and a 4 way splitter for the cable tv that was also just shoved into the wall as well.  Now I am enjoying streaming video to my home media center over my new wired network that works much better than my dd-wrt wireless bridges.

USB Smart Button


The other day I found out that the company I work for would be getting some promotional USB Smart Buttons for our new website.  I though how fun would it be to reprogram these buttons to go to our competitors website and put them on a few select employees desk. So the first thing to figure out  was what is inside… I had hoped for a micro and eeprom so all that would be required is the changing of a string in the eeprom but instead all I found was a cypress CY7C63803 micro controller.  This prank was going to take a bit more effort than I had first thought so I ordered a PSoC Mini-Prog and downloaded the PSoC Designer Software and started writing my own version of the USB Smart Button Firmware.  Below is the firmware for the one URL version of the Smart Button with PWM three phase color phasing LED’s.  I have also posted the Excel spreadsheets that I used to make the Sine Table and ASCII to Scan Code Tables.  Please enjoy reprogramming your USB Smart Buttons with this free firmware. I know I got a few good laughs out of it and some good experience working with USB HID devices.

USB Pinout

Pin Name Cable color Description Mini Prog
1 VCC Red +5 VDC Vdd
2 D- White Data – SDATA
3 D+ Green Data + SCLK
4 GND Black Ground Gnd

USB Smart Button Firmware.zip
USB Smart Button Dual Link Firmware.zip
Sine Wave Table.xls
Scan Code Table.xls

So Machine Pong

The past few days I have been playing around with a So Machine starter kit thinking to myself what can I make this thing do that is interesting. I am not sure how but I came across the idea of writing pong for the M238 PLC and HMI STU 855 but it is a-lot more fun than starting motors.  The code is primarily structured text with a function block to bring in the signals from the paddles which are mechanical quadrature encoders pictured above the HMI.  I have attached the Project for anyone whom wants to transform their So Machine Starter Kit into A So Pong Device.

So Machine Pong Project Archive Download

Arcade Control Console

I bought the arcade cabinet on e-bay from a local seller.  It was quite interesting transporting this cabinet and a Mortal Kombat arcade cabinet in a ford ranger. The idea behind getting this cabinet was to transform it into a Mame arcade Machine.  The issue was that the control panel was setup originally for Robotron then drilled for bloxeed and I needed more buttons to be able to play a large range of games on this machine.  That left me with two options… One option was to remove the artwork and glue from the control panel and fill all of the holes with bondo, sand, paint, and drill my new button layout. Or option two just build a new control panel which I felt would look nicer and be easier. The control console is built for poplar with a padauk inlay to cover up a mistake I made. I will try to post some update on the progress of this project as soon as I have time to work on it again.

Macassar Ebony & Walnut Humidor

This was my first attempt at veneering and doing a French polish. The veneer on the box is the 3rd application of veneer as the first two had to be scraped off due to the book match separating as the veneer dried. I also had issues with applying the finish mainly due to lack of pore filling before adding the shellac and being impatient. It took months of on and off again work on this box before I gave it as a late wedding present to T.J. and after some long term testing we have discovered it works as intended.

Oak Pencil Holder

I am slowly going through and adding all of the wood working projects I have done so far. This is a pencil holder I made from red oak with walnut accents and finished with tung oil. I currently use the pencil holder daily at work and the tung oil finish is holding up great. The only noticeable ware is the pen and pencil marks on the bottom from not putting the caps on. I would recommend using tung oil finish on any project that needs a quick easy and durable finish.

Pallet Box

I made this box from a few boards I pulled off of a pallet my neighbor was throwing out . Once I planed these boards I knew I had to make something with it. The box is finished with boiled linseed oil and some paste wax. Due to this wood coming from a pallet I have no idea what kind of wood this is, so if you recognize it please let me know what it is.